How to Use Arnis to Transform Real-World Locations into Minecraft Maps
January 7, 2025
How to Use Arnis to Transform Real-World Locations into Minecraft Maps
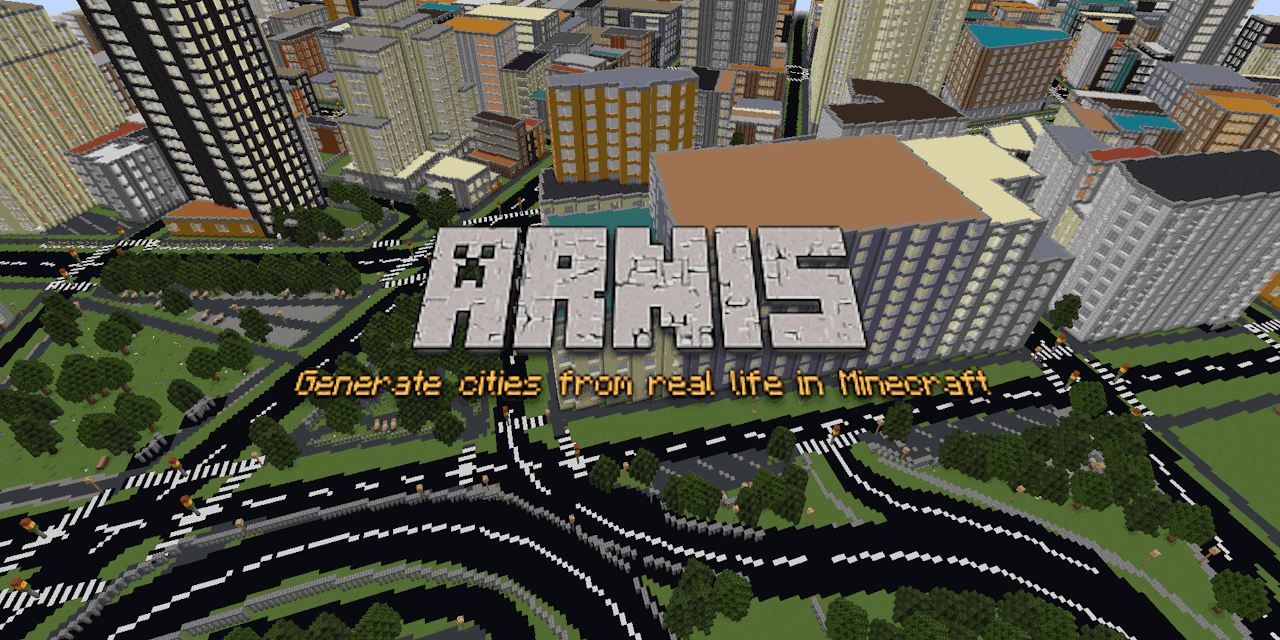
Arnis is an innovative open-source tool that allows Minecraft enthusiasts to recreate real-world locations within the game. By utilizing geospatial data from OpenStreetMap, Arnis simplifies the process of map generation, enabling users to explore their hometowns or any other location in a virtual environment. This guide will walk you through the steps of using Arnis effectively.
Understanding Arnis
Developed by Louis Erbkamm, Arnis is a Rust-based application that automates the conversion of geographic data into Minecraft-compatible maps. The tool fetches data from the Overpass API, processes it, and generates a world file that can be loaded into the Java Edition of Minecraft.
Key Features of Arnis
- Open Source: The project is open for contributions, allowing developers and enthusiasts to enhance its capabilities.
- User-Friendly Interface: Users can operate Arnis through an interactive graphical interface or via command-line inputs.
- Geospatial Data Integration: It uses free data from OpenStreetMap, making it accessible for anyone interested in recreating real-world locations.
Getting Started with Arnis
To begin using Arnis, follow these steps:
-
Download and Install Arnis:
- Visit the Arnis website to download the latest version.
- Follow the installation instructions provided in the repository.
-
Select a Location:
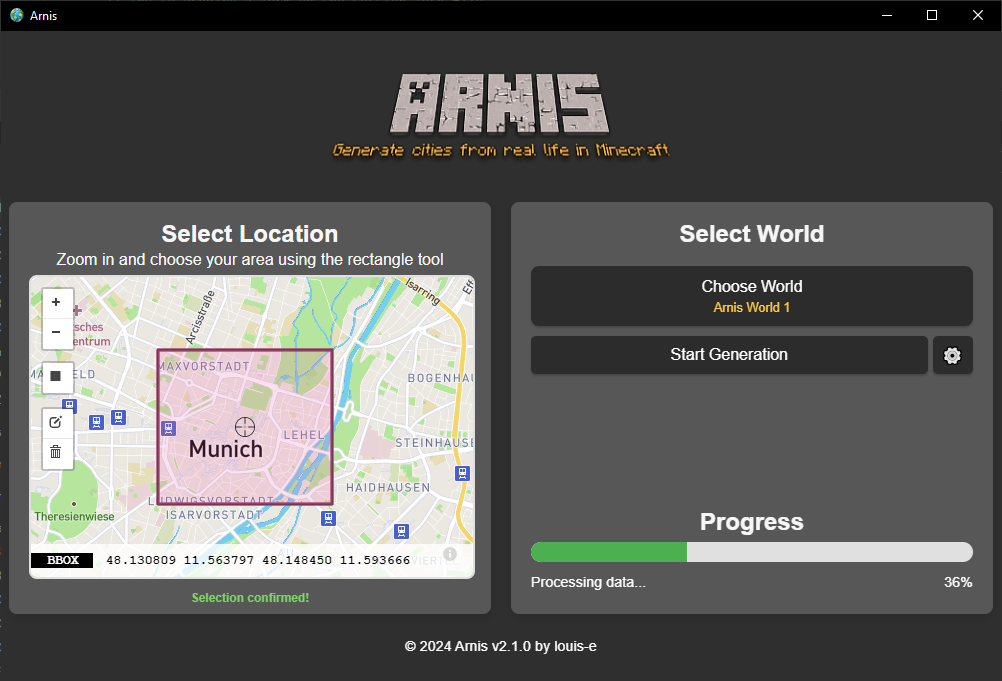
- Open the application and use the map interface to navigate to your desired location.
- Zoom in and drag the map to find specific areas you want to recreate.
-
Input Coordinates:
- Once you have identified your area, input the latitude and longitude coordinates for a bounding box around your selected region.
-
Generate the Map:
- Click on the "Generate" button to start processing your selected area. Note that processing larger regions may require significant computational resources, so it's advisable to start with smaller areas.
-
Load into Minecraft:
- After generation, save the world file and load it into your Minecraft Java Edition game. You can explore your newly created map in spectator mode or survival mode.

Tips for Effective Map Generation
-
Start Small: When first using Arnis, select a small geographic area (e.g., a few blocks or a small neighborhood) to ensure quick processing and reduce computational load.
-
Check OpenStreetMap Data: The accuracy of your generated map depends on the quality of OpenStreetMap data for your chosen location. Some areas may lack detailed data, resulting in incomplete maps.
-
Experiment with Features: Explore various features within Arnis as they become available through community contributions. Keep an eye on updates from the developer for new functionalities.
Future Developments
The developer has outlined plans for additional features and improvements, including better handling of complex geographic data and enhanced user interfaces. Community involvement is crucial for these advancements, so consider contributing if you have programming skills or ideas.
Conclusion
Arnis opens up exciting possibilities for Minecraft players by allowing them to explore realistic representations of real-world locations within their favorite game. Whether you want to revisit your childhood home or create a post-apocalyptic version of your city, Arnis provides a powerful tool for creativity and exploration.
Happy mapping!